Insights

Getting started with Microsoft Flow: User’s Guide

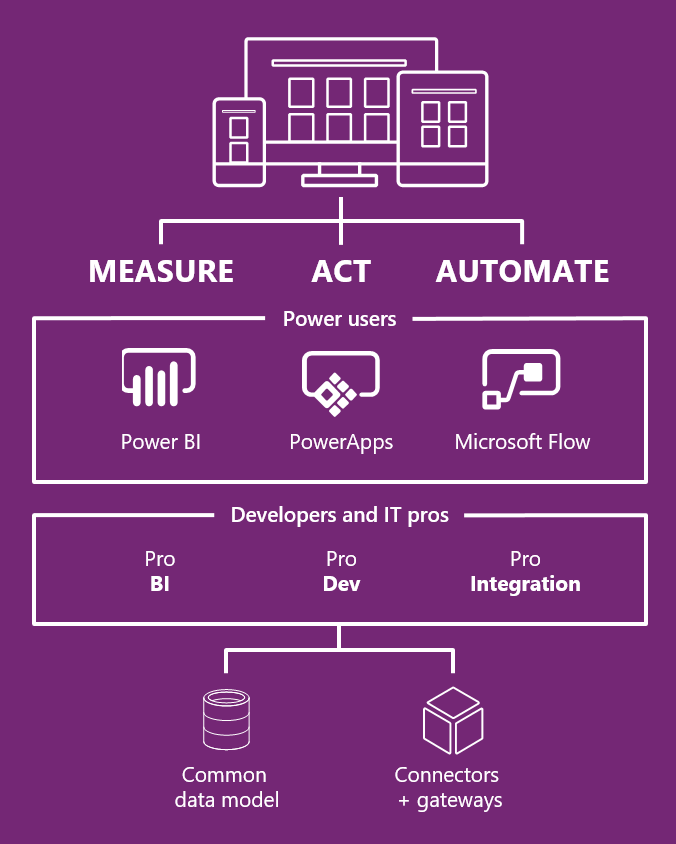
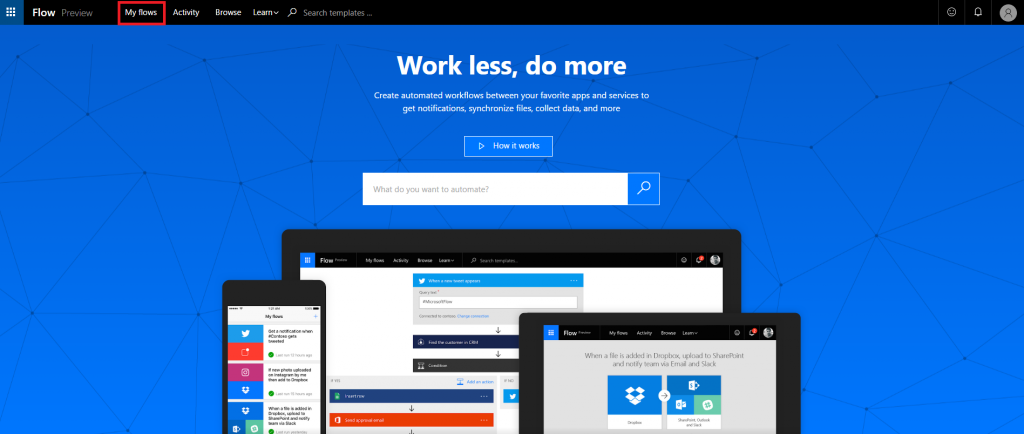
Microsoft Flow is going to be a key component for Microsoft products, helping to tie together your Microsoft cloud services, as well as non-Microsoft cloud services.

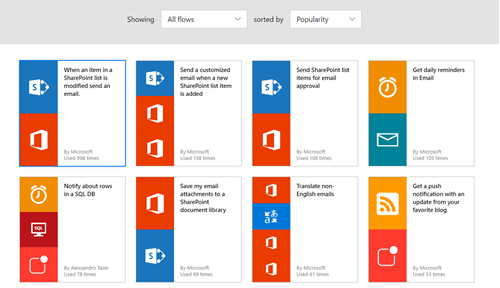
It allows end users to automate business processes through workflows that can be created without any coding skills by simple templates and drag and drop functionality. This is going to open a lot of opportunities for everyday users to be able to automate their own processes, such as getting an alert when their boss emailed them, without having to rely on IT departments and developers.

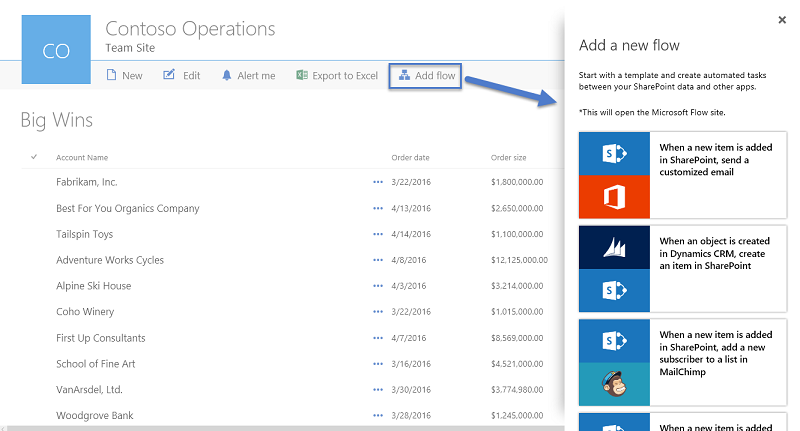
Microsoft have already started hinting at how Flow (and PowerApps) will play an important role in their core services. The main discussions have been around SharePoint and Office 365 but with the upcoming launch of Dynamics 365 we have already started to see Flow and PowerApps heavily mentioned in the future of Dynamics 365.

Free Preview

Flow is currently in Preview in the UK and completely free to sign up to to start trialling. The best way to evaluate Flow for yourself is to simply sign up to the Preview and starting using it! If you want to see how to get started with Flow, then keep reading as we look at setting up our first Flow, navigating around the app and the possibilities involved.

Getting started

First, you need to sign up to Flow here: flow.microsoft.com/ and clicking ‘Sign up free’ and adding your email address.

If you already have Office 365 then the Flow app with appear in your Office 365 App Launcher, if not, then you can access Flow by going directly to the Flow website.

Once signed in, you can navigate around on the top menu and go into ‘My flows’.

To get started you can choose to create a Flow from a template or create a blank Flow – templates are the easiest way to get started.

After you click on ‘Browse templates’ you can view all the pre-configured Flows available. These can be filtered and are continuing to grow as more templates are being created. Browse through and find one that you want to trial or start using.

You can see a bit more information about the Flow template and if it’s the one you want click ‘Use this template’.

Microsoft will now check your connections and ask you to sign in and authenticate your accounts.

Most of the information will be pre-populated but you will need to enter the specifics about the Flow. In this example, I just need to specify which OneDrive folder I would like email attachments to be saved in. Any required fields are starred and once finished you can create your Flow.

This Flow will now appear in the ‘My Flows’ section – wait a minute or two before you test it.

To test my Flow, I simply sent an email to my inbox with an attachment. Once received I went into my OneDrive folder and there it was!

If you have any issues with your Flows not running or working you can go into ‘My Flows’, find the Flow that isn’t running and click to ‘i’ button to see the run history and any errors. You can also view this by going into the ‘Activity’ tab.

Navigating around

Navigating around the Flow Preview site is simple. The main areas that you will use are in the top menu:

  • My Flows – where the Flows you’ve created live
  • Activity – where you can view your Flow history and view run history
  • Browse – this is where you can browse the pre-built templates
  • Learn – discover documentation, support, give feedback etc.

Along the top right you can also view any notifications of any failed runs, which takes you into your Activity. Clicking on your profile will give you several other important options for connecting your services. Here you can create and remove your connections to your services, manage any gateways you have created and create custom APIs.

Microsoft Flow in Apps

Microsoft Flow can currently be accessed as and used a standalone Preview but it will also be built into apps in the future. We know that it will feature heavily within Dynamics 365 and Office 365 – including SharePoint as shown in this image of an integrated ‘Add Flow’ option within SharePoint from Microsoft.

Why use Microsoft Flow?

Microsoft Flow aligns perfectly with Microsoft’s strategy and missions statement – to “empower every person and every organisation on the planet to achieve more.” It allows business users to be able to simplify their tasks using technology while ensuring that IT departments aren’t inundated with requests that would be too timely or too costly to fulfil. I think Microsoft themselves put it perfectly:

We know not every business problem can be solved with off-the-shelf solutions. But developing custom solutions has traditionally been too costly and time consuming for many of the needs teams and departments face—especially those projects that integrate across multiple data sources or require delivery across multiple devices from desktop to mobile. As a result, too many technology needs end up unsolved or under-optimized. We piece together spreadsheets, email chains, and manual processes to fill in the gaps.

PowerApps and Microsoft Flow are both aimed squarely at these gaps. They give people who best understand their needs and challenges the power to quickly meet them, without the time, complexity and cost of custom software development.

Future of Flow

We can’t wait to see what’s in store for Flow and how it progresses but it’s worth being aware that Microsoft have not provided any details around pricing and licensing yet. It is current free as it’s in Preview mode but does state that ‘free and paid service levels are planned’ for general release, so we must wait and see what Flow functionality will continue to be freely used and what will be charged. PowerApps and Microsoft Flow will be included within Dynamics 365 subscriptions but details are still vague.