Adding content to the queue in Teams Live Events
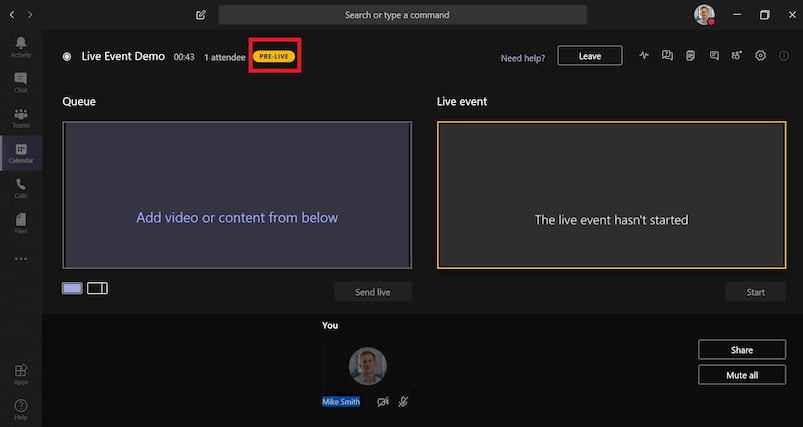
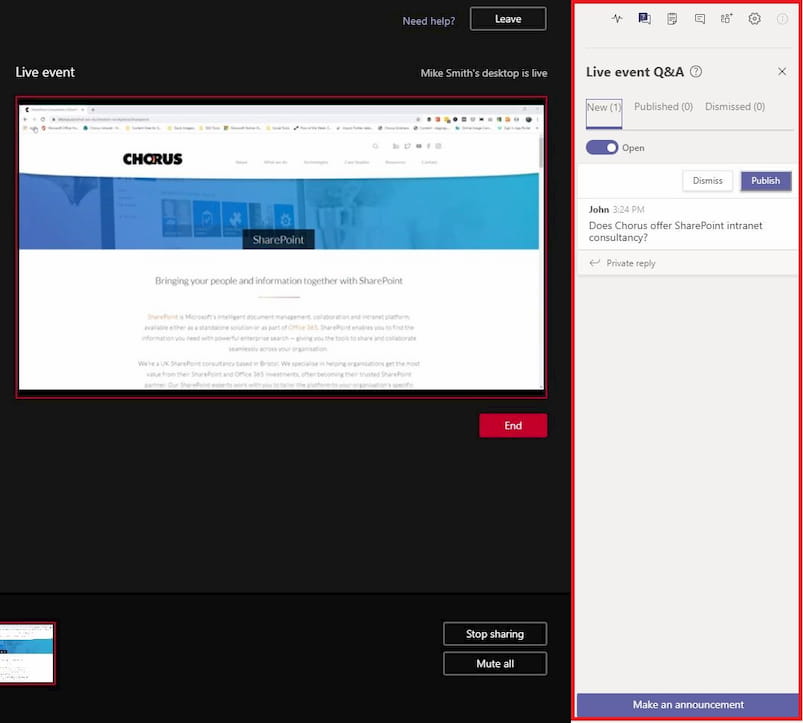
On the producer’s screen, you can add content to the Queue. If a presenter has shared some content, you will see a small thumbnail image of their content at the bottom of the screen – which you can select.
If you are both the producer and the presenter, click the ‘share’ button and you will see all of the different windows you have open on your device. You can select any of these to share.
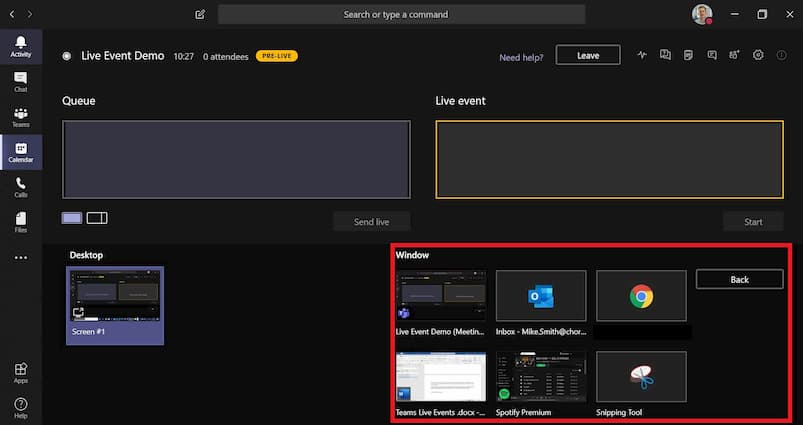
Select one and it will send it to the queue window.
If you’re on a laptop with a smaller screen, the window may crop some of the content so it appears as if some of the content is missing. Don’t worry about this — the content will display fully for attendees.
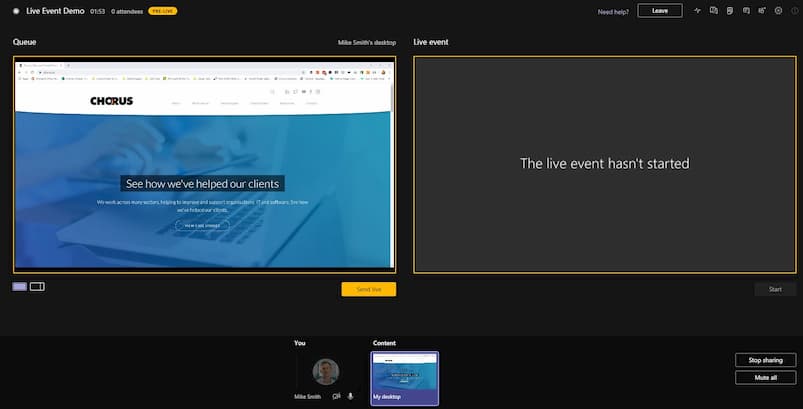
If you want to share video of you or a presenter next to the content, you can use the small button below the queue window to toggle between views (known as ‘single source’ or ‘content left’).

The ‘Content left’ layout appears like this, with the content on the left and a space for video on the right side of the window.
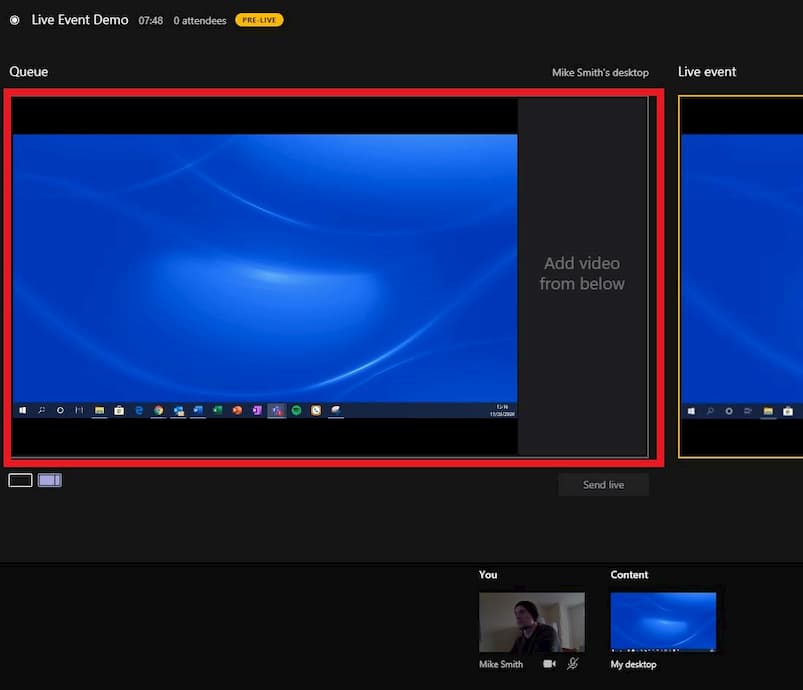
To add video, click ‘add video from below’ and it will highlight purple.
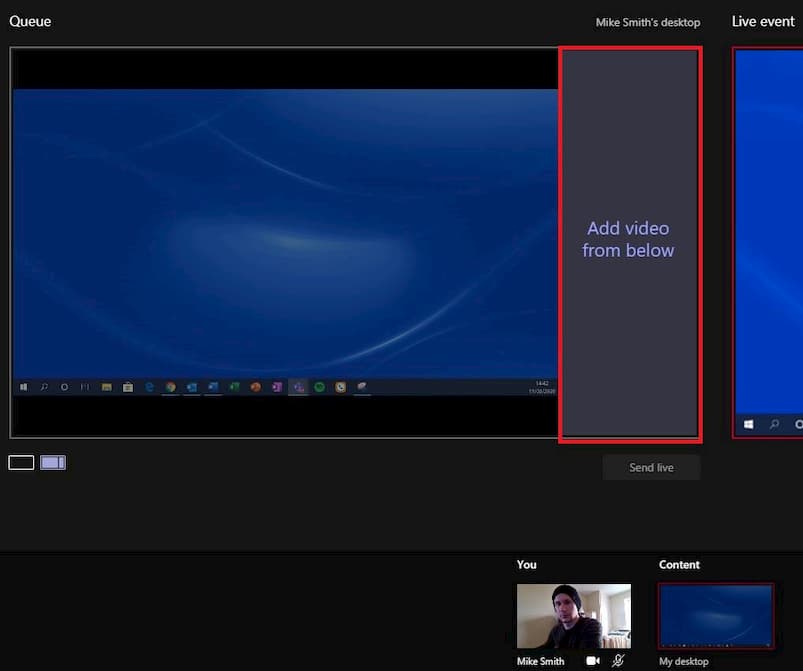
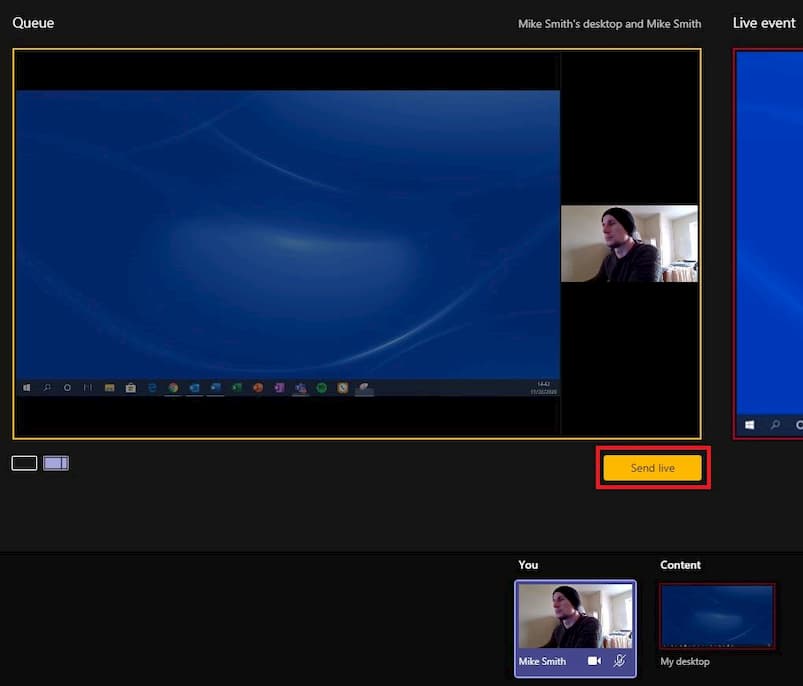
You can now select a video feed from yourself or one of your presenters and it will display next to the content in the queue.
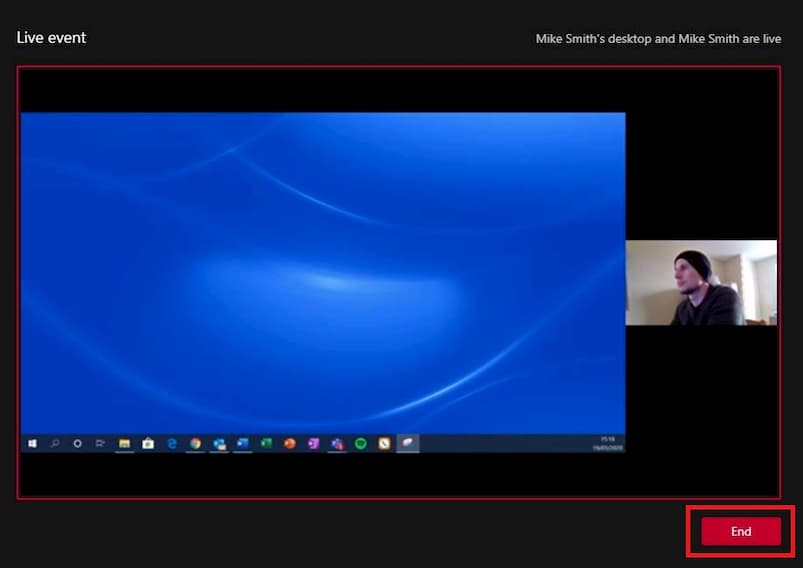
Next, you’ll want to click the ‘Send live’ button which will add the content to the ‘Live event’ window too.
The event is not yet live, so next you’ll need to click the yellow ‘Start’ button.
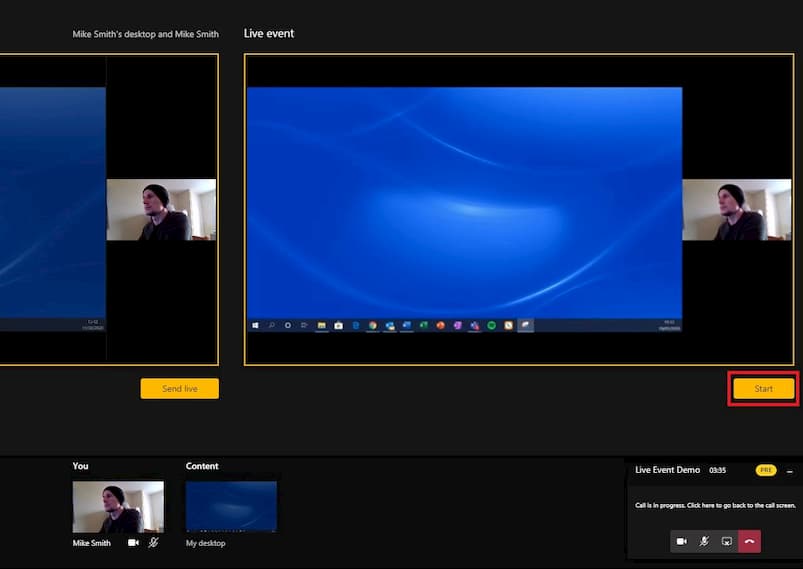
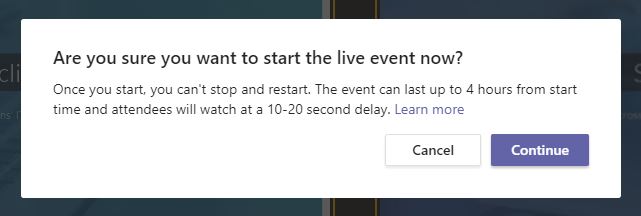
This will bring up the following prompt. Click ‘Continue‘ and the event will be live for attendees.
You’ll know that you are live as you will see a red ‘Live’ button towards the top left corner of the screen — along with a red dot (recording), the event name, how long the event has been running and the numbers of attendees viewing the event.

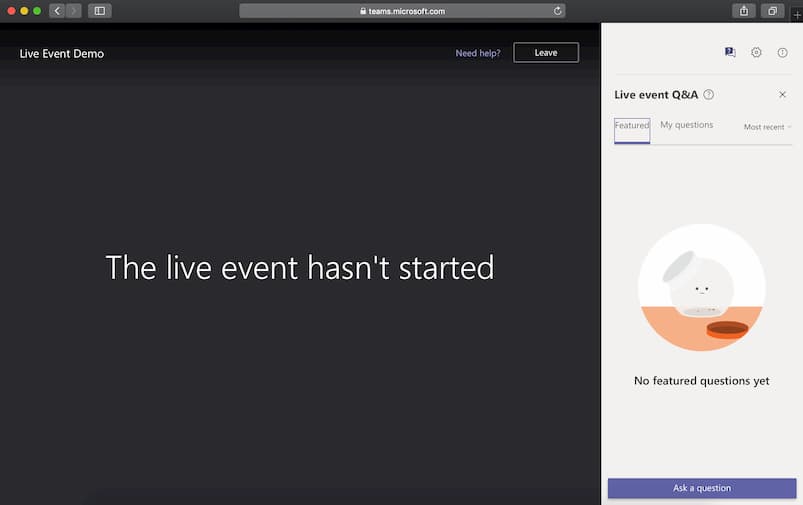
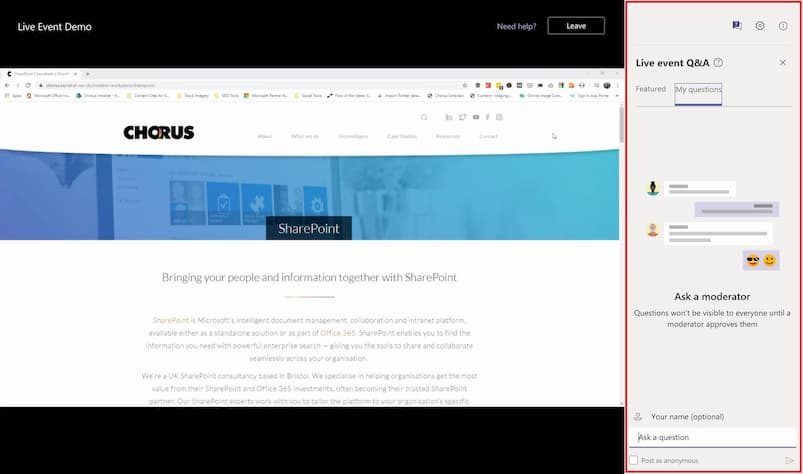
Now that the event is live, your attendees will see the content live on their screen — likely following a delay.
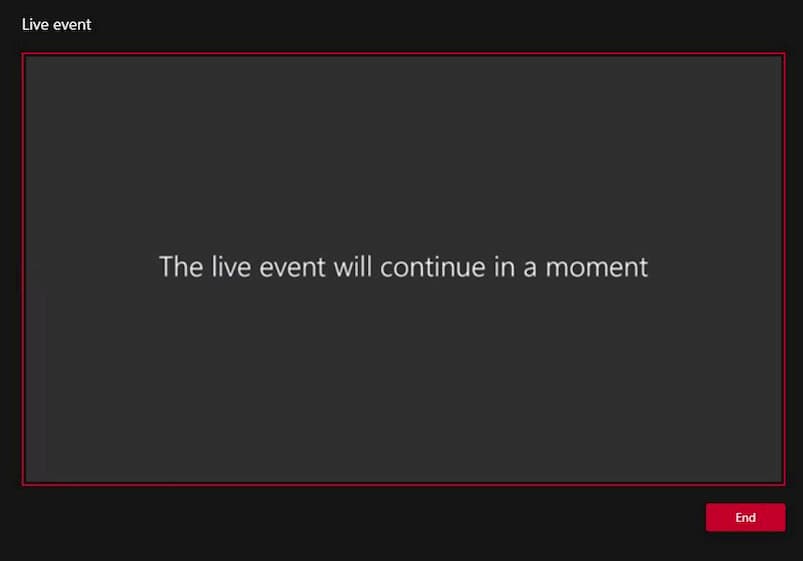
There will also be a red ‘End’ button under the live event window – which you can use to end the event once you’re finished.
